 The Ultimate Collector Series TIE Fighter set has been out for a number of months now, but I finally got around to putting it together over the last few nights. So, like before with the Red 5 X-Wing, and Slave I, here’s a quick rundown and review of the build, and the final results.
While the Empire’s TIE Fighter may not be the most sleek looking of the ships in the Star Wars universe, it’s still iconic. I’m sure most of you reading this already know that TIE actually stands for Twin Ion Engine – so it’s name has nothing to do with neckwear or how they attack people. I honestly don’t know what the Empire was thinking when they designed these things because the giant solar panels on each side of the cockpit keep the pilot from seeing anywhere but in front of him. Serious tactical disadvantage there. But, they’re bad guys anyway so who cares, right?
Alright, on to business.
The instruction booklet is beautiful just like all the previous UCS ones – giving lots of details about not only the ship itself in the Star Wars universe (as if it were real) but also information from the designer of the model at LEGO. Some kids may not care, but to adults it’s a quick interesting read and I’m glad LEGO goes to the lengths they do to make the entire process engrossing right from the start. The directions are easy to follow, as usual. However I think one of the reasons these last few UCS booklets have been so big is because each step only adds between 1-5 pieces at a time. Most instructions add a lot more per step depending on the model. This isn’t a drawback because it helps me make sure I didn’t miss anything – which I often do.
OK, onto the build pictures…
Read the captions beneath each photo for more information about each!


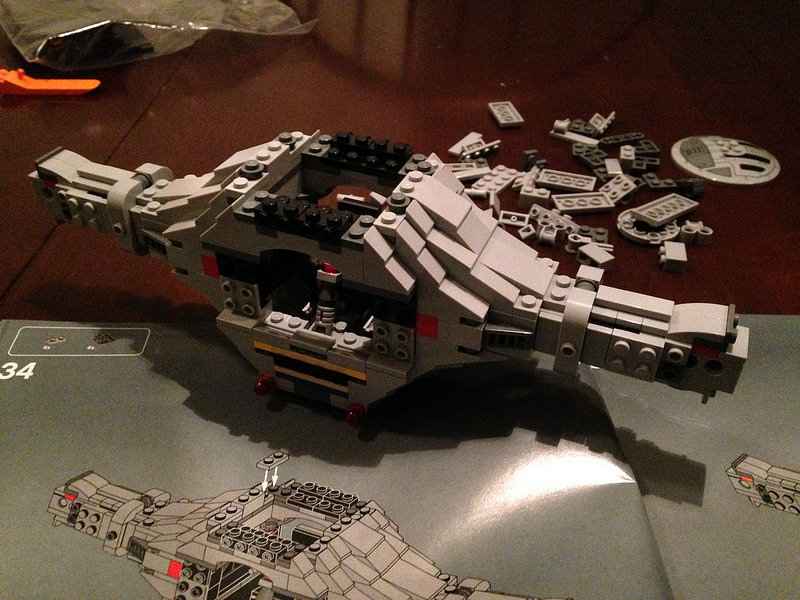


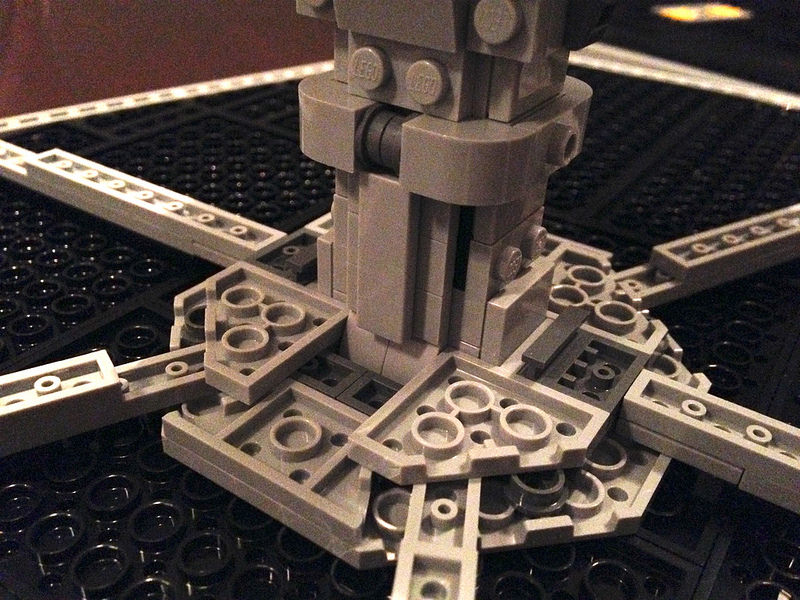
This part was probably the most fun of the entire build. Putting the final details on the wing panels and attaching them to the main body was a close second. There are a lot of little pieces and details here, but it’s fabulous once the shape starts to come together. When you built out the support struts for the large panels you start to wonder about how they are going to attach to each other securely.
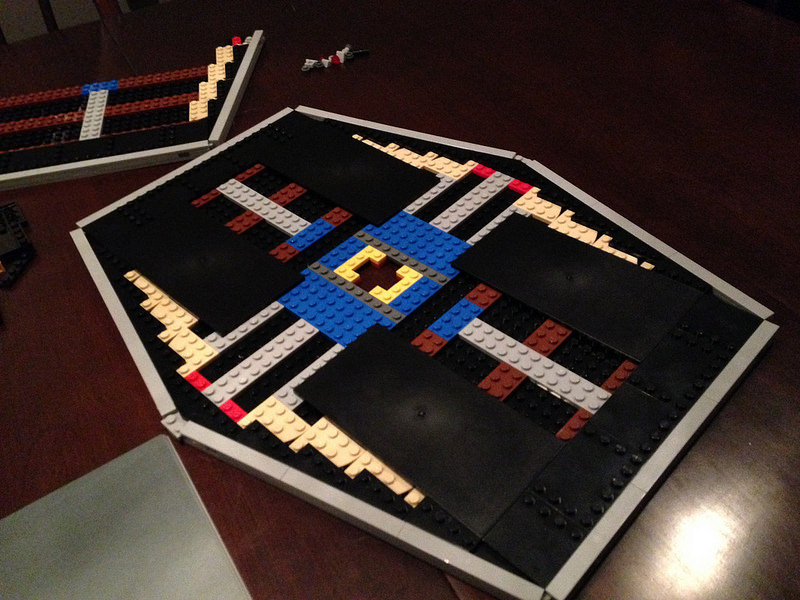
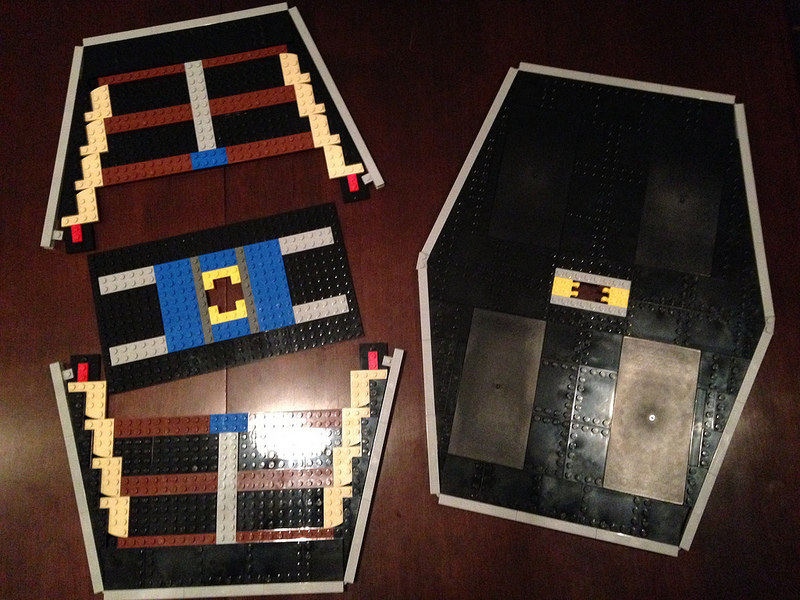
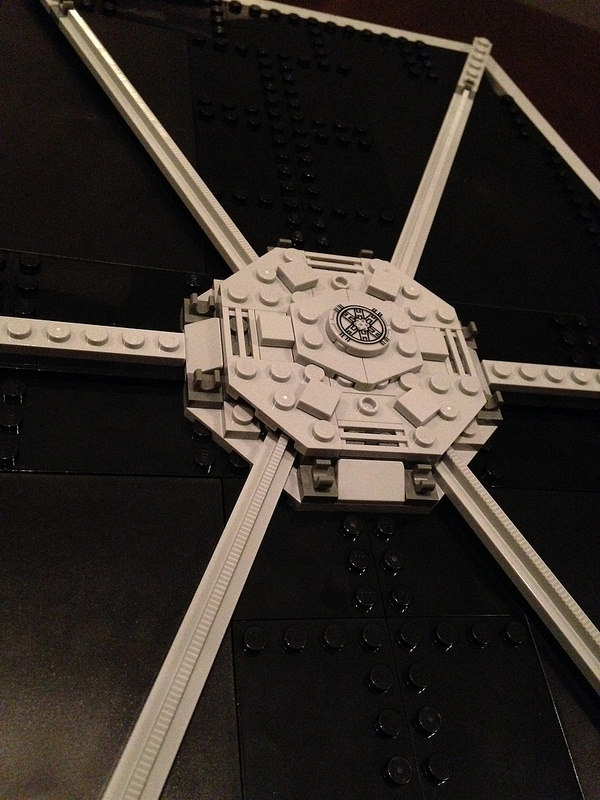
The large side panels were quite tedious, actually. The directions had to be repeated numerous times since you were creating multiple copies of a number of the components. The payoff is good in the end, but it takes some of the fun of watching things come together when you do the same thing over and over again. Here’s a closer look:


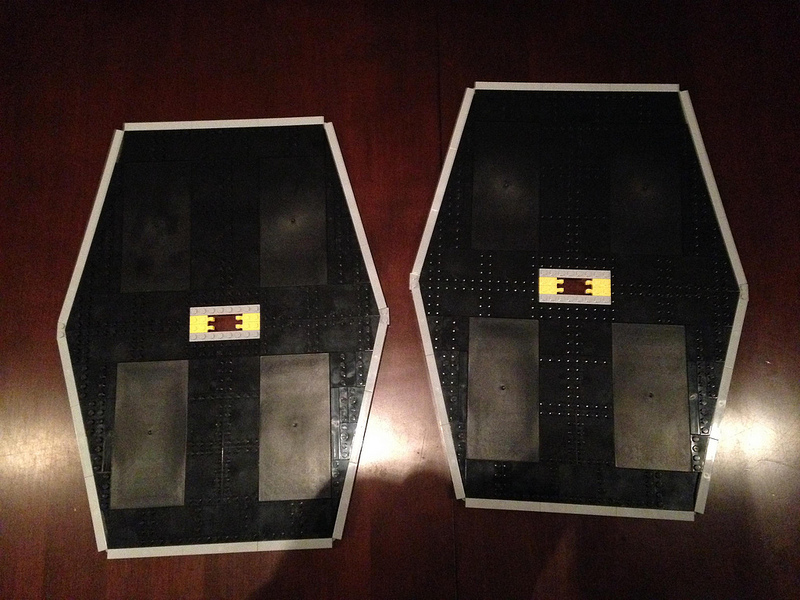
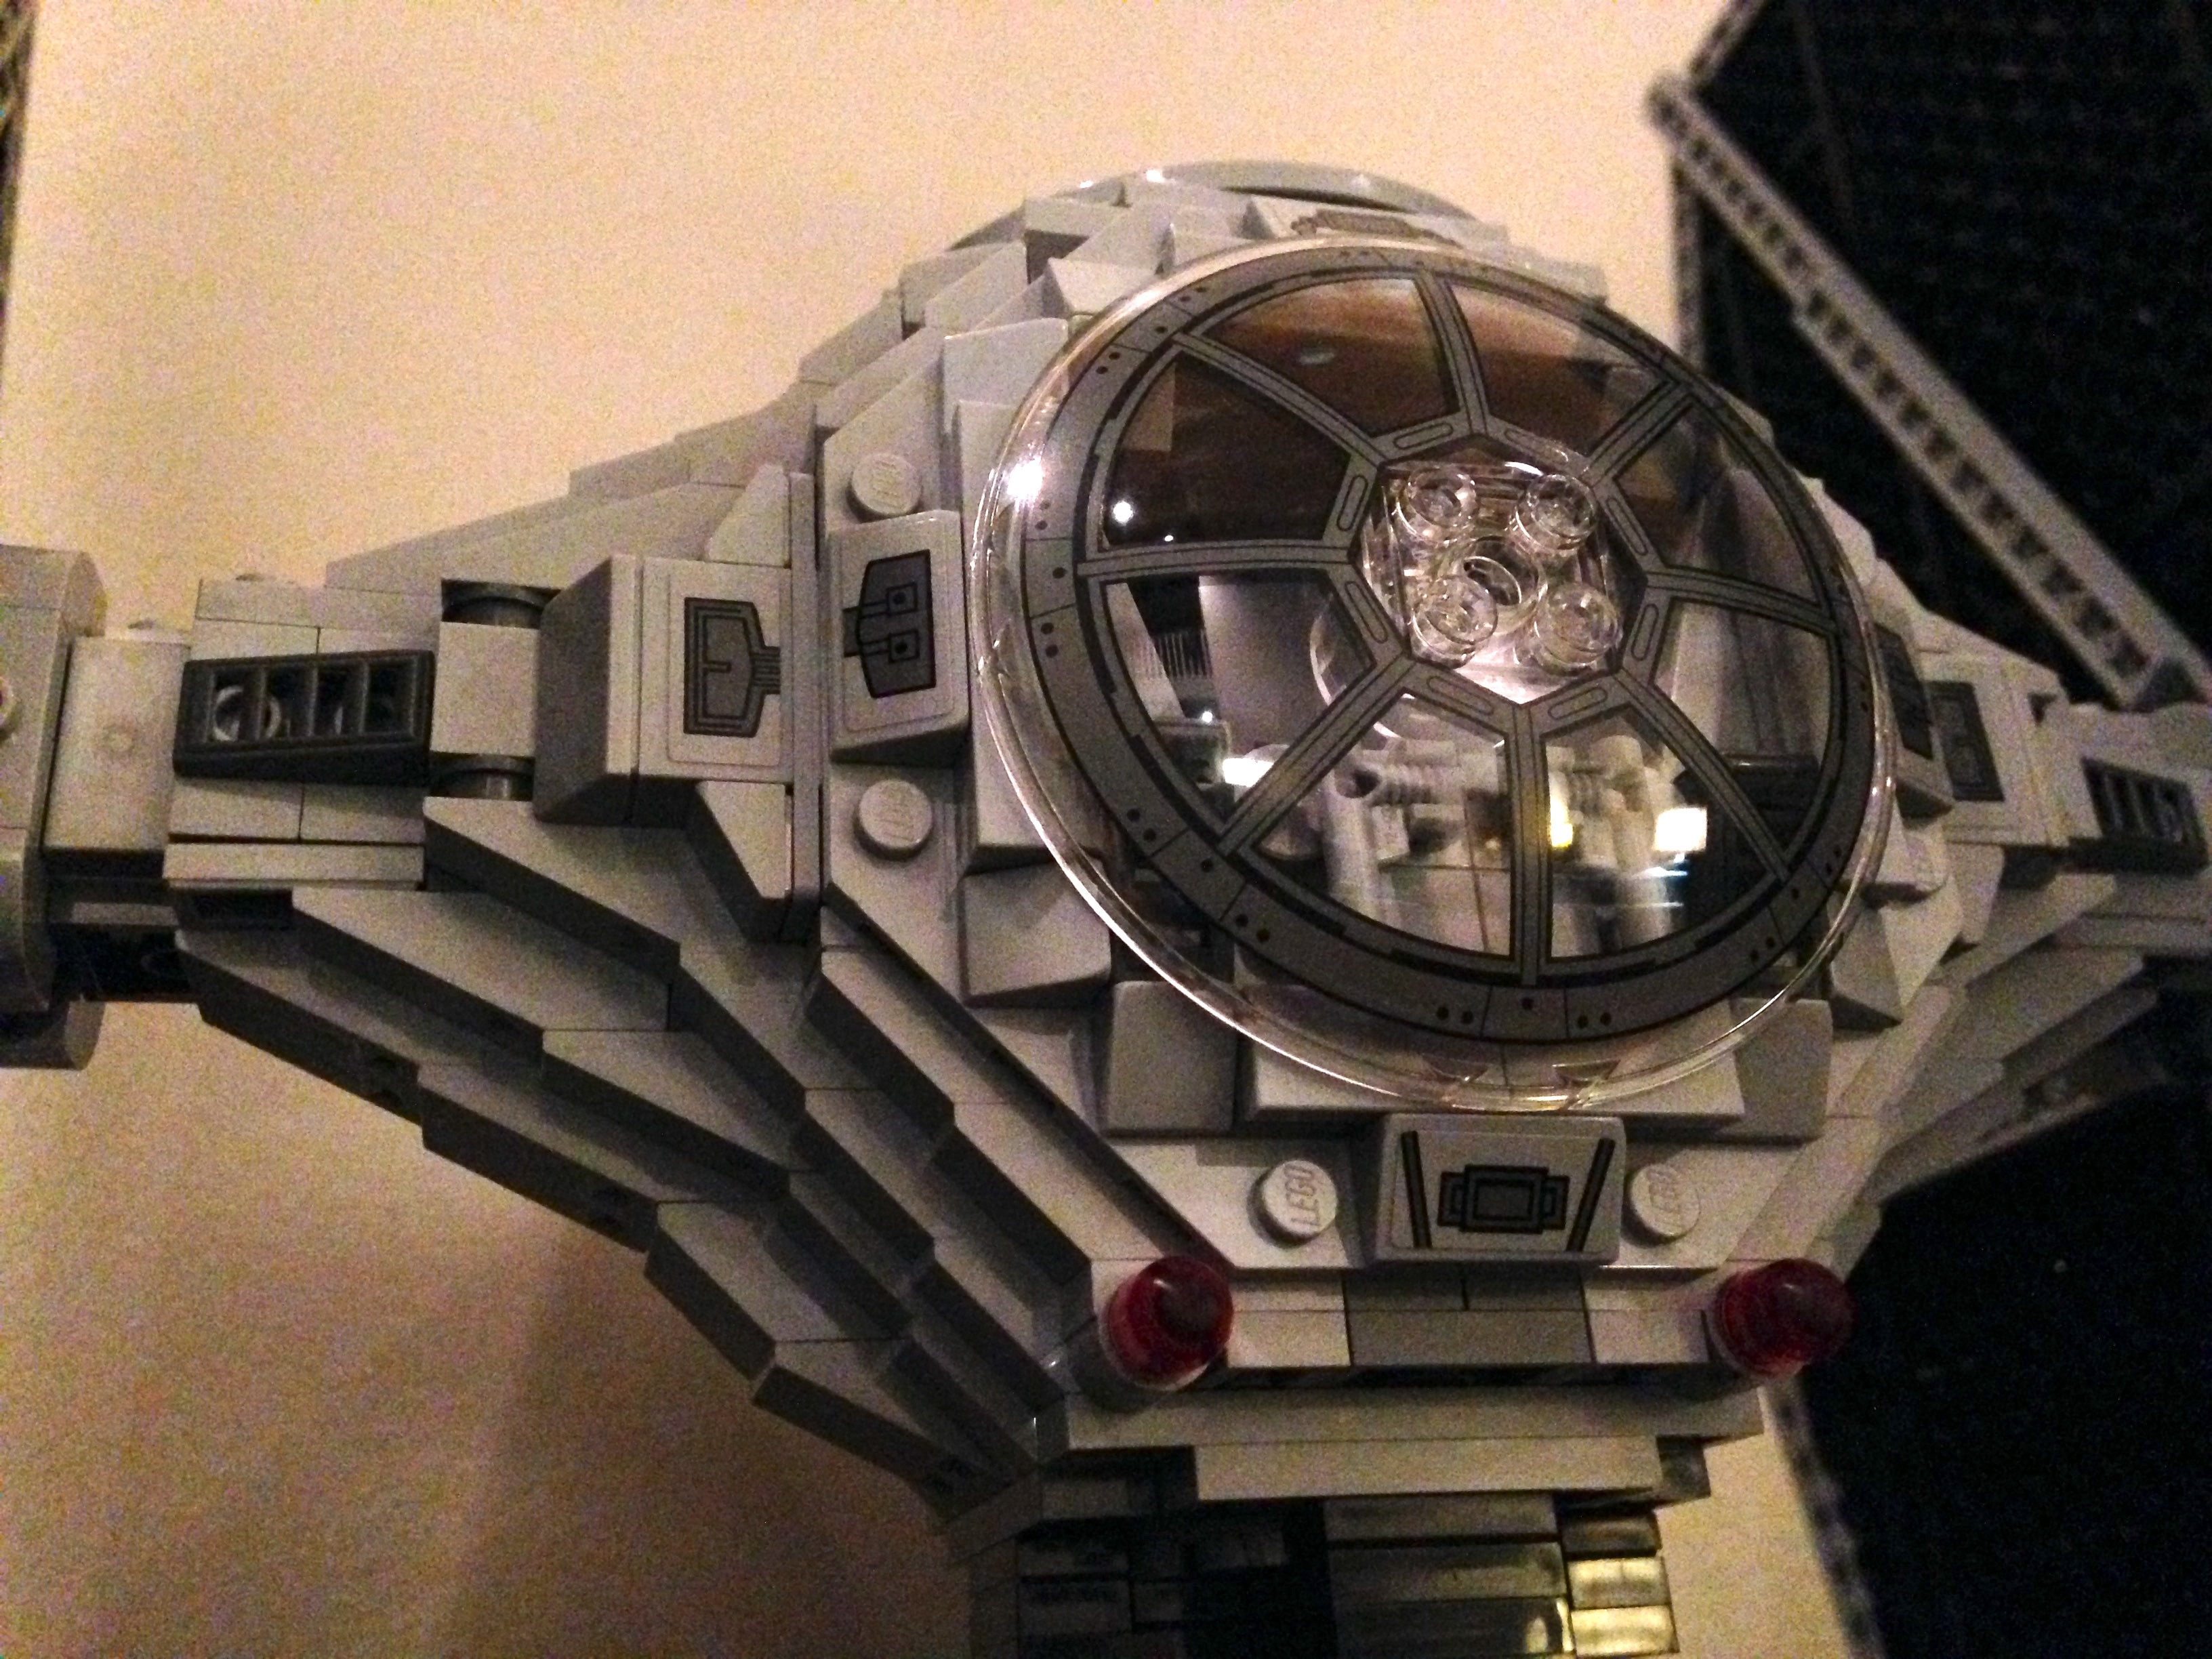
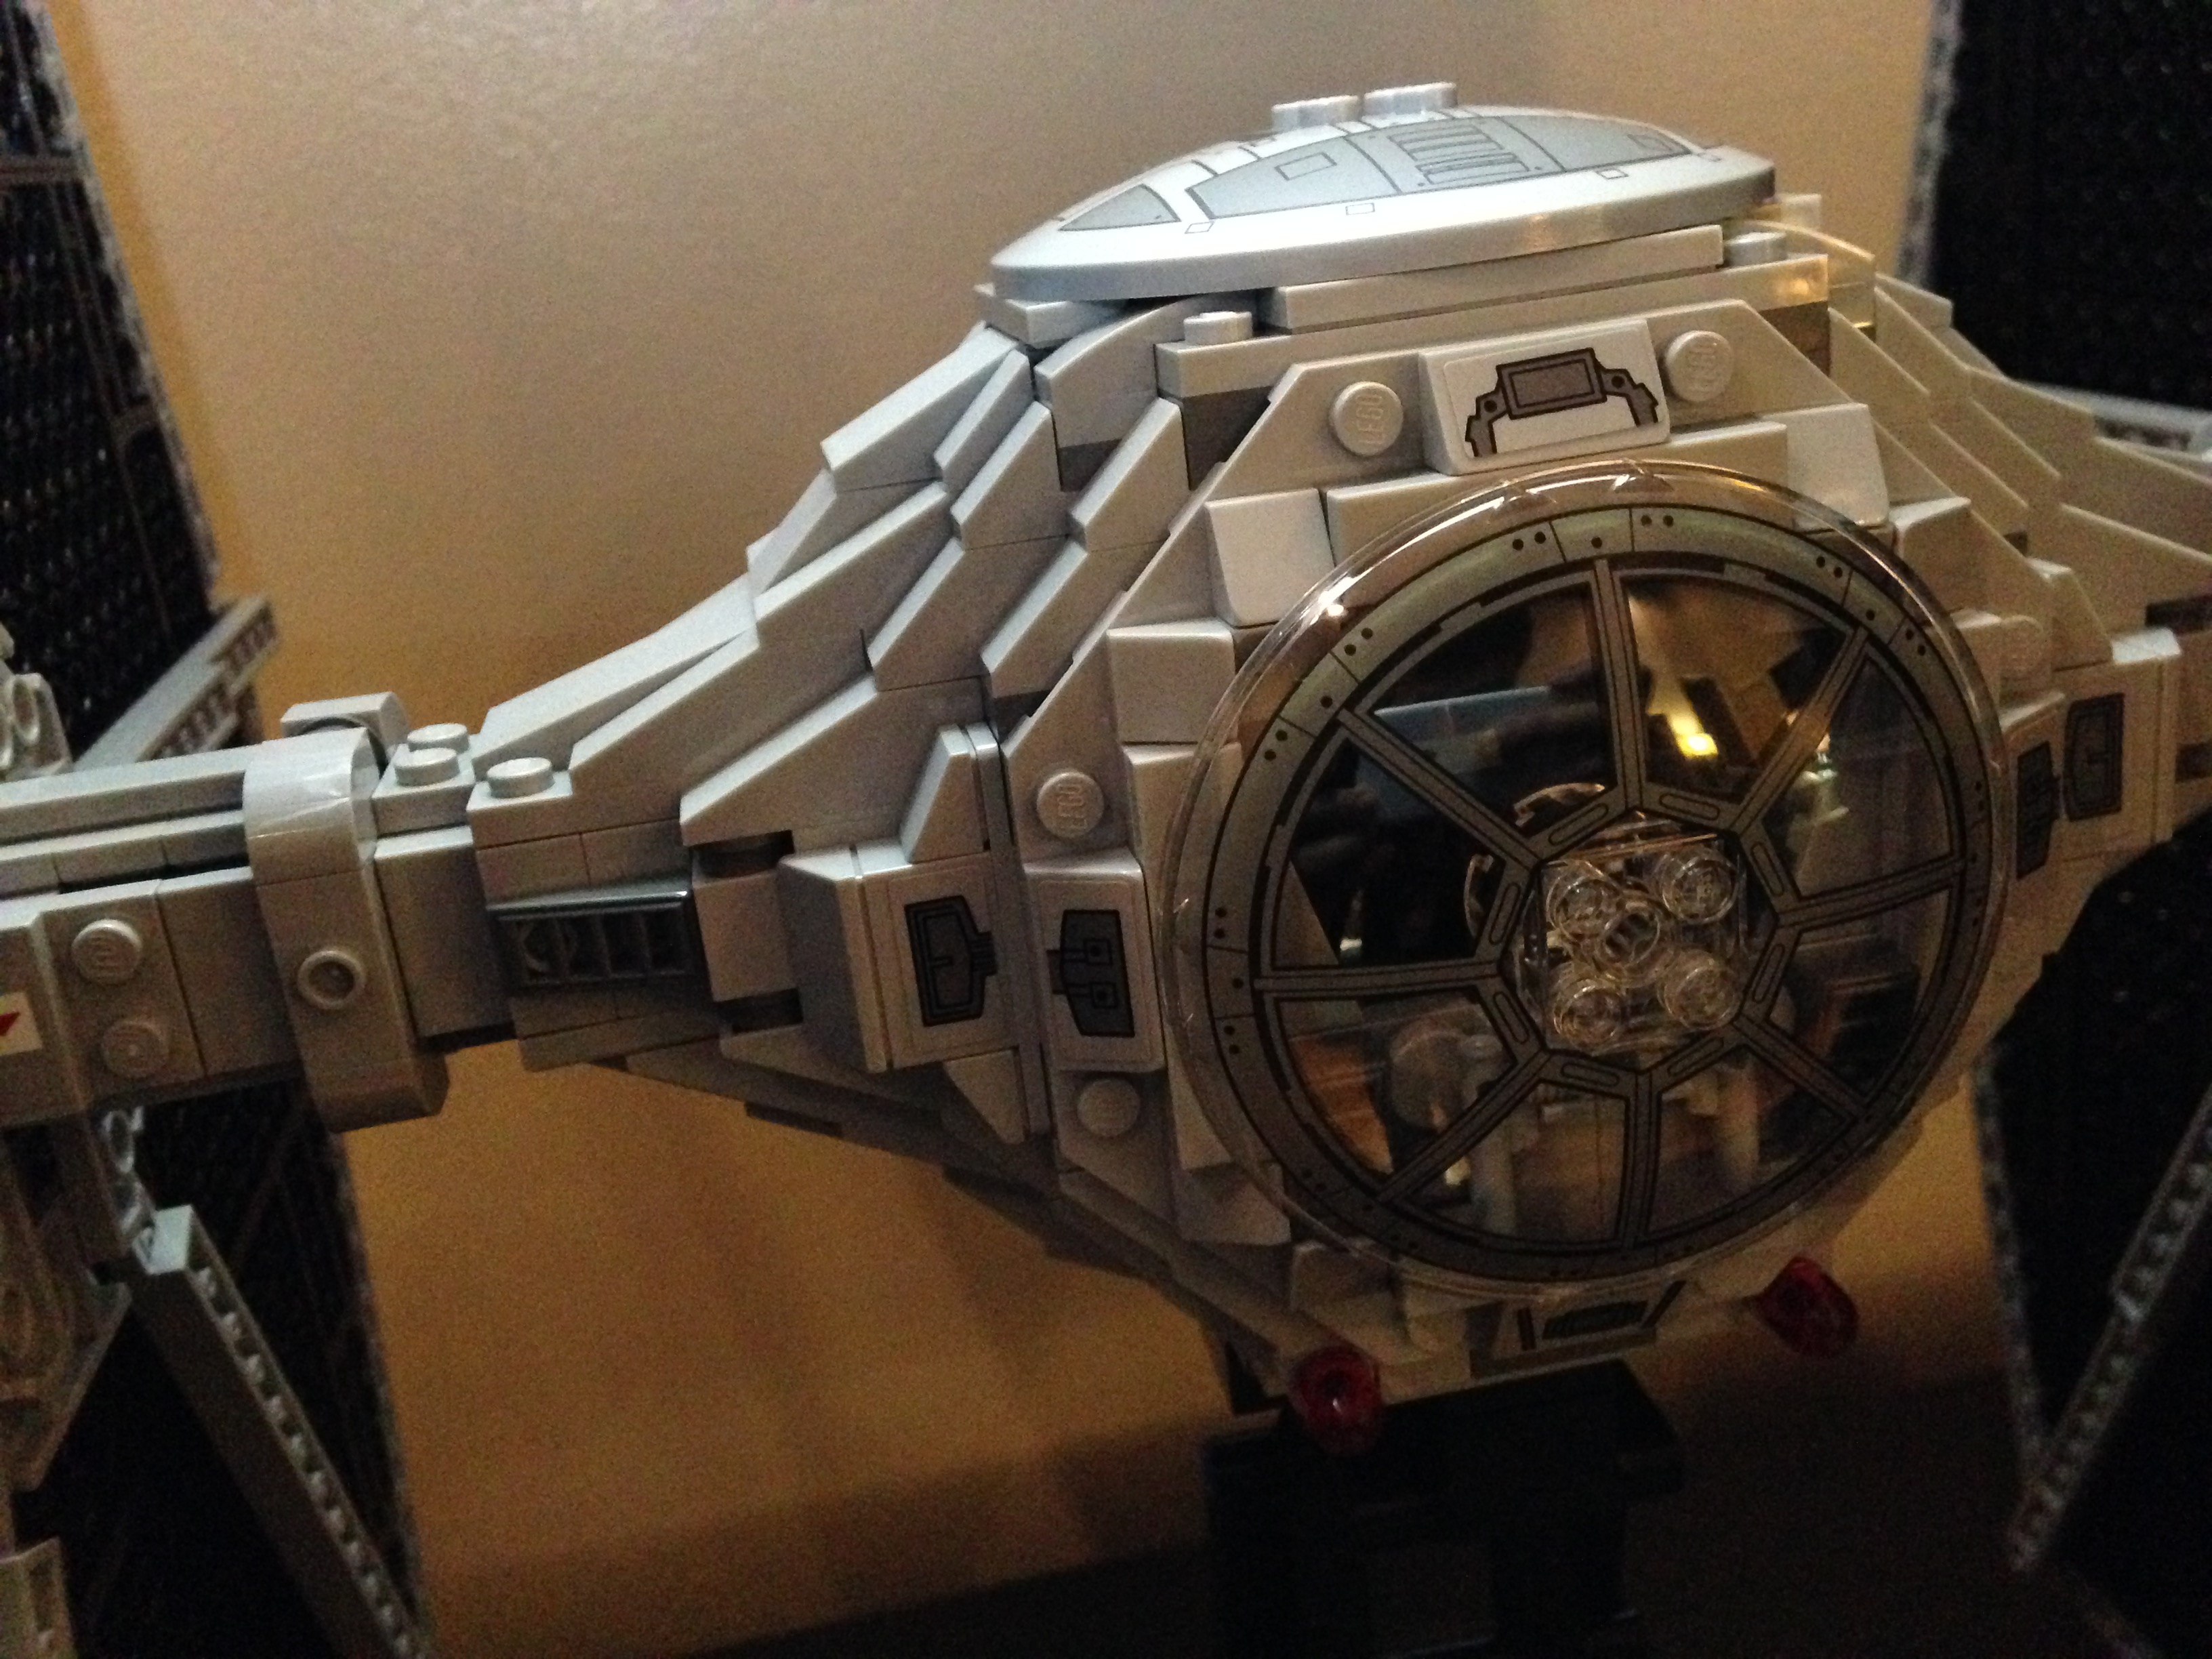
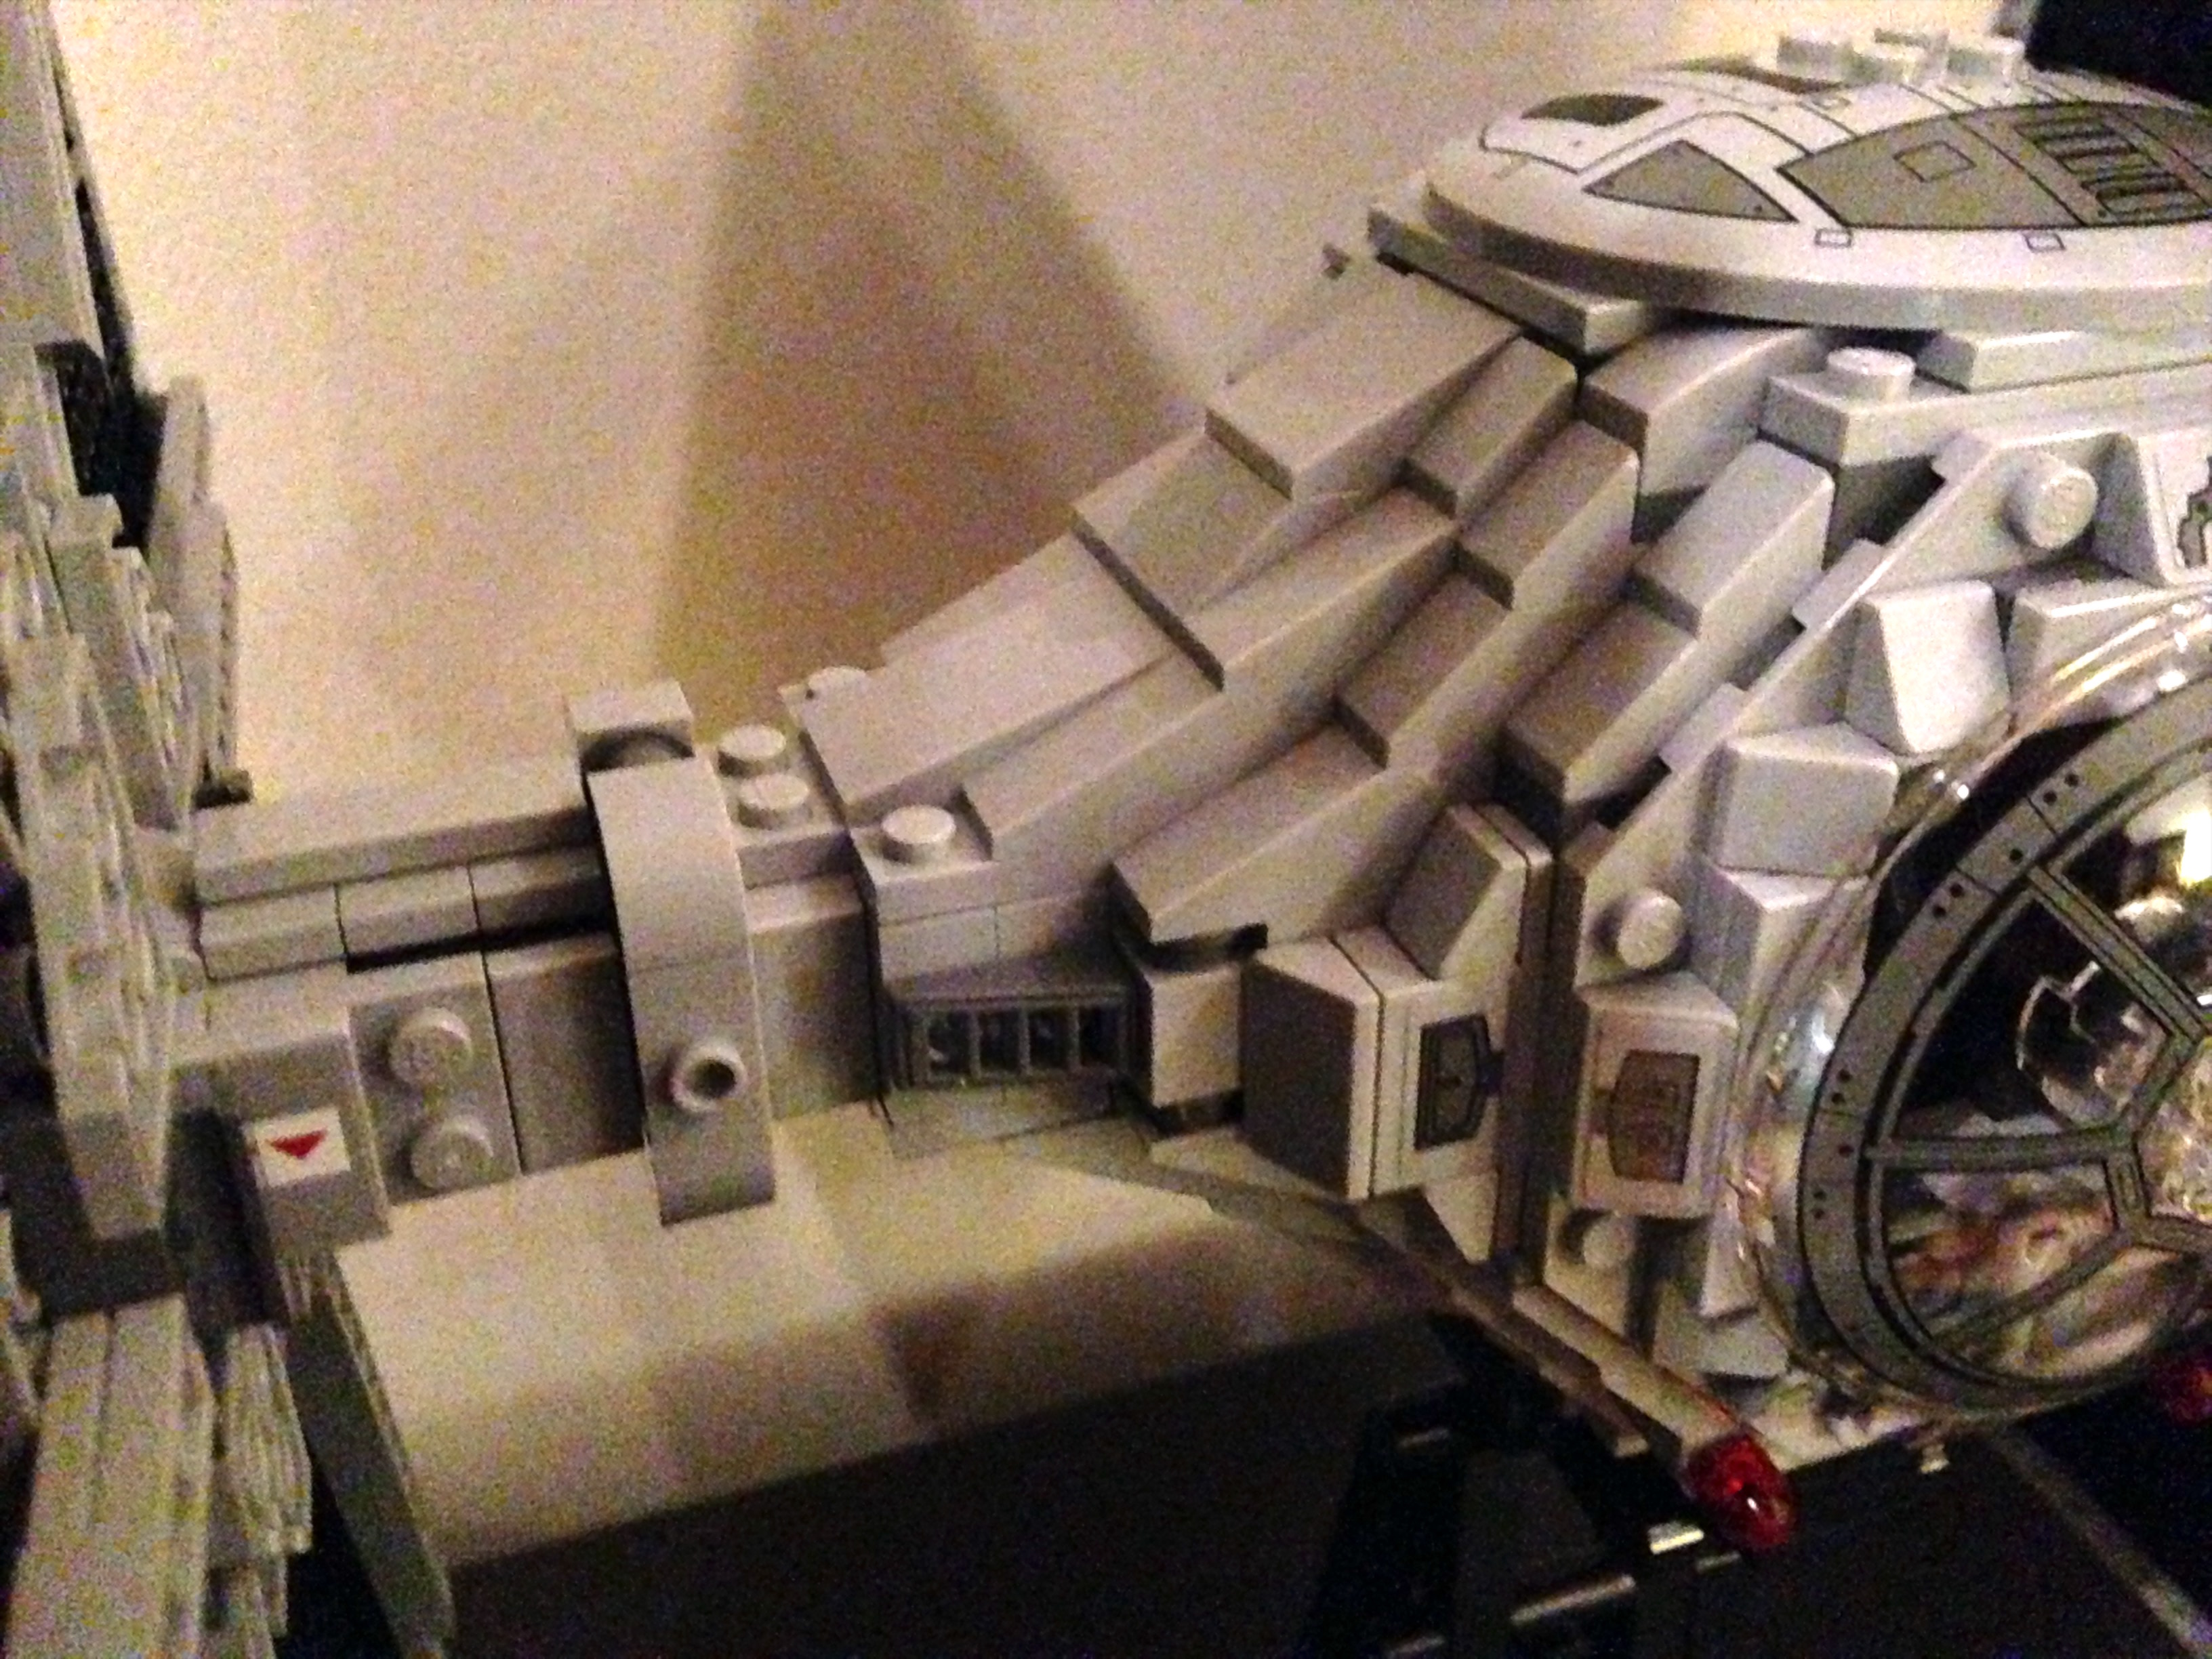
After the outer panels were constructed I was curious how they were going to securely connect. Needless to say I wasn’t disappointed. The arms from the main cockpit body slid nicely into the opening on the inside of the panel, and locked into some bricks. To further secure, there were two flaps that swung up and also locked in place to the body’s frame. Overall, the connection feels very solid.

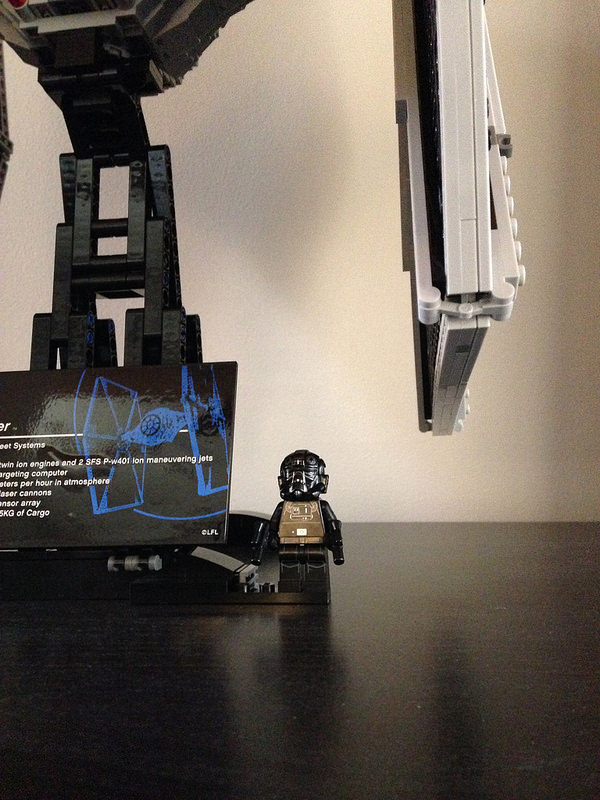
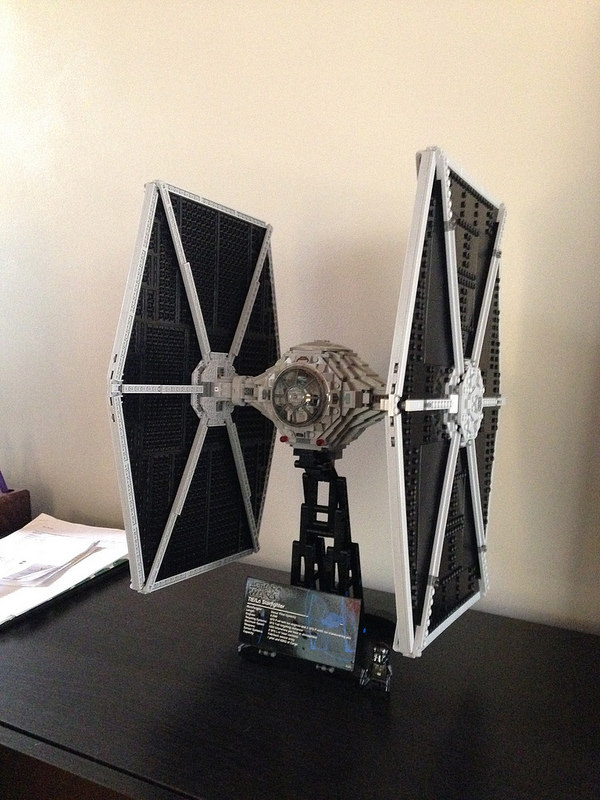
And here are some more detailed views of the finish product. Sorry for the shitty lighting. But you get the general idea.


So there you have it, the LEGO Star Wars Ultimate Collector Series TIE Fighter. It’s a simplistic build in the end, but has some interesting LEGO mechanics to get it to work. Frankly, I love that they have minds that can come up with ways to connect simple blocks to produce these things. Either way, it’s a must have for your Star Wars collection!
Oh, and one last word of advice – make sure you try to put the stickers on before you put the pieces onto the model because some of them are hard to get at, and then you end up with crooked stickers. I HATE STICKERS.
Build Experience: C+
Build Time: A
Price: C ($200 – a lot for limited complexity)
LEGO Star Wars UCS Tie Fighter Overall: B-

Awesome. Have you seen the new movie yet? The TIE Fighters look better, don’t crash as much, and what not, but as you pointed out (I never realized it, and am laughing now) they still have the tactical disadvantage. 🙂
I’ve seen it twice. Was thinking of posting a quick review this week maybe.